
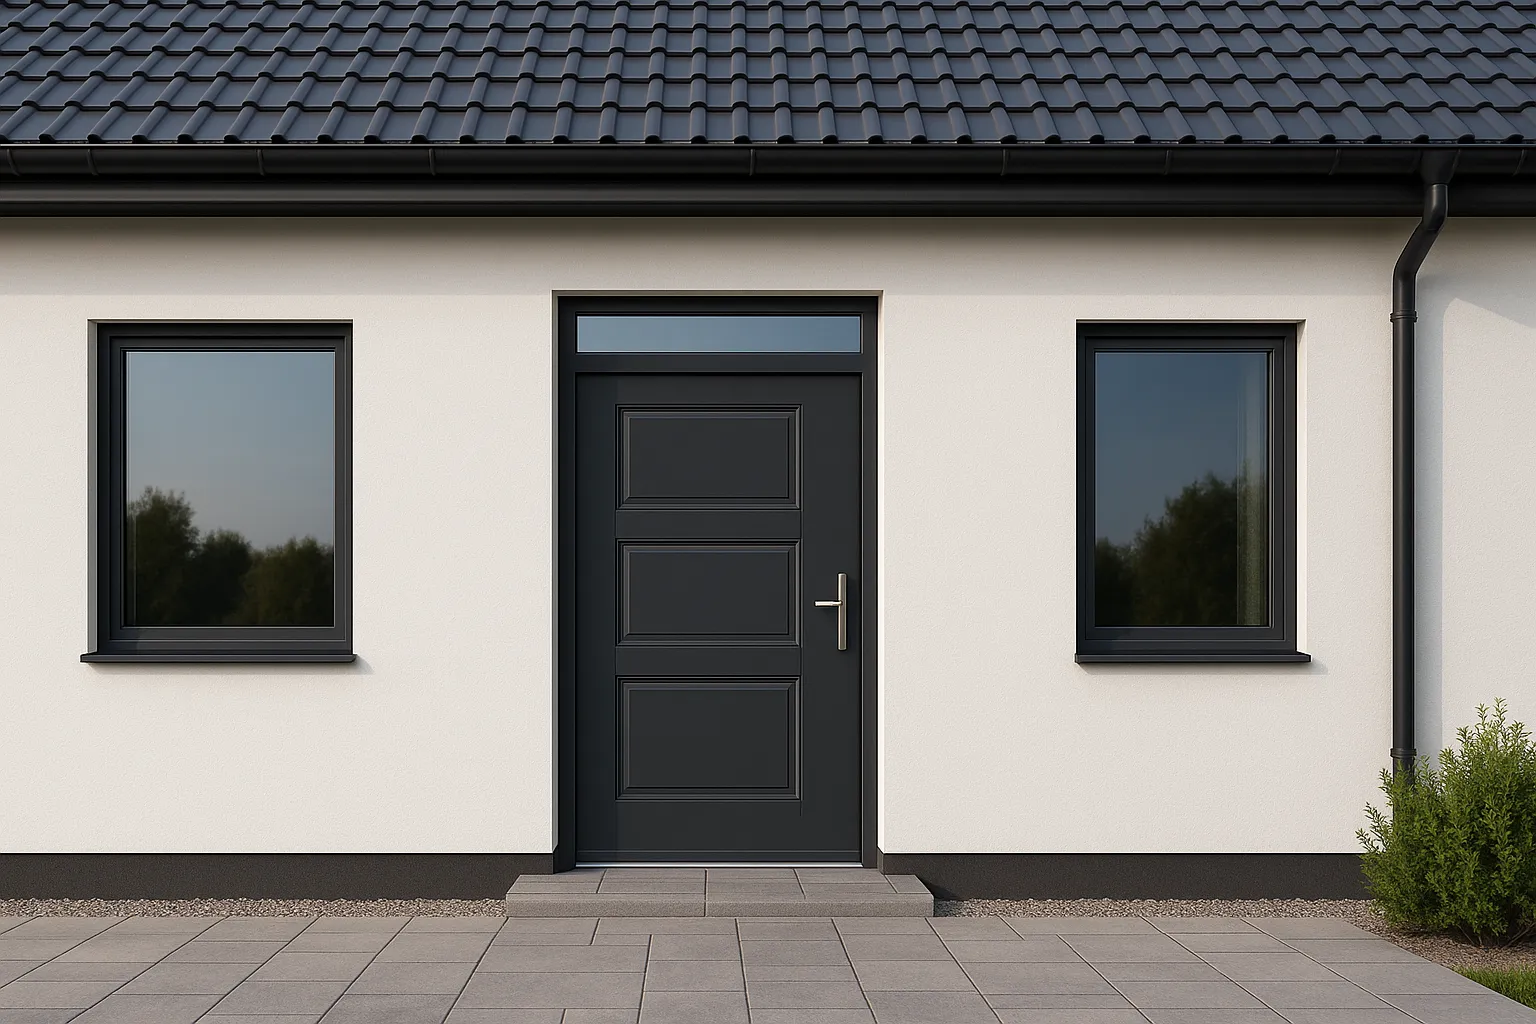
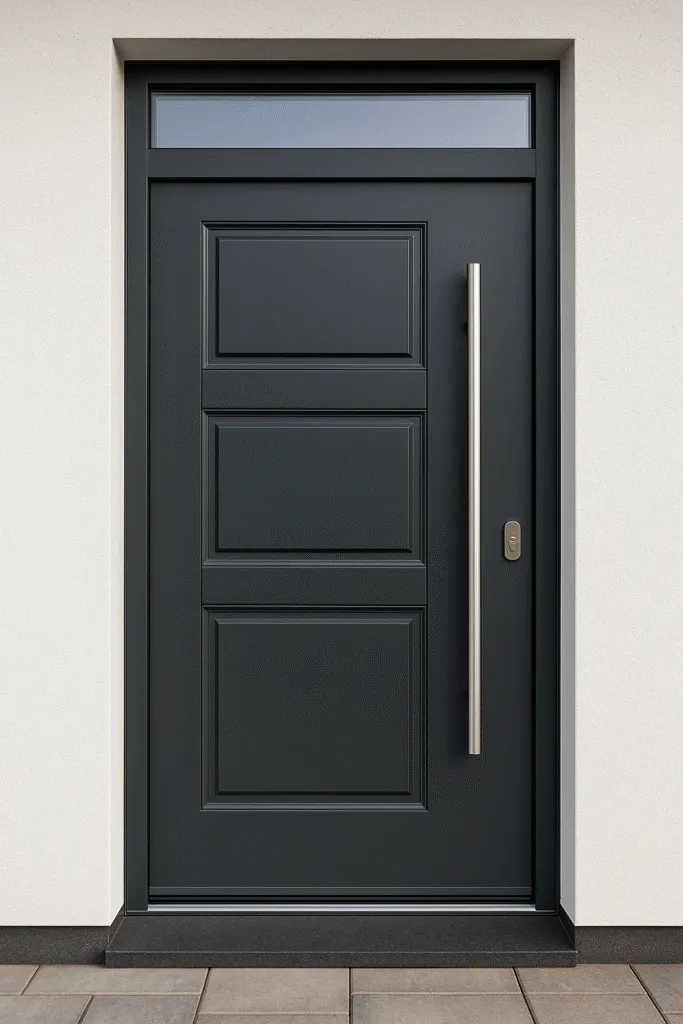
How to Install External Doors Properly – A Step-by-Step Guide
Installing exterior doors is more than just attaching hinges and screws — it’s about precision, insulation, security, and curb appeal. Whether you’re a seasoned installer or a DIY enthusiast, this guide will walk you through the essentials of proper exterior door installation. Done right, it ensures durability, energy efficiency, and a sleek finish that will last for years.
Why Proper Installation Matters
An exterior door is your home’s first line of defense — against weather, noise, and uninvited guests. A poorly installed door can lead to:
Heat loss and higher energy bills
Moisture infiltration and mold
Warping and operational issues
Security vulnerabilities
Let’s avoid that mess. Here’s how to get it right from the start.
1. Preparation Is Everything
Before you lift a single tool, make sure:
Door opening is level, square, and plumb – Use a spirit level and measuring tape.
Threshold is clean and even – This prevents distortion and improves sealing.
Wall structure is stable – Check for any structural weaknesses.
🛠 Pro Tip: Use a laser level if available. It makes life much easier and your door straighter!
2. Dry Fit the Door
Place the door in the opening without any fixings. This is your test run:
Check alignment with the frame
Confirm the correct opening direction
Ensure there’s enough clearance around the edges (usually 10–15 mm for foam and expansion)
If it doesn’t sit comfortably now, it won’t after sealing.
3. Apply Sealing Tapes and Thermal Breaks
Modern installations require more than just screws and foam. Add:
Vapor-permeable sealing tape outside
Vapor-barrier tape inside
Insulation foil or tape under the threshold (especially with warm sills)
💡 These materials protect your door from condensation and thermal bridging – enemies of energy efficiency!
4. Fixing the Frame – Accuracy is King
Use frame anchors or mounting brackets to fix the frame:
Start with hinge-side points
Check verticals and horizontals constantly
Do not overtighten – this can warp the frame
⚠️ Don’t forget to predrill if you’re mounting into concrete or brick.
5. Insulate the Gap
Once the frame is securely fastened:
Fill the gap between wall and frame with low-expansion PU foam
Avoid overfilling — foam expands!
Allow to cure per manufacturer instructions
Insulation is crucial not just for temperature control, but also for acoustic comfort.
6. Seal It Up – Inside and Out
Apply your internal and external sealing tapes. They:
Keep moisture out
Ensure airtightness
Enhance energy efficiency
Remember: the outer layer must be vapor-open, and the inner layer vapor-tight. This allows the wall to “breathe” in the right direction.
7. Final Touches and Adjustments
Now the satisfying part:
Hang the door leaf and check for smooth operation
Adjust hinges as needed
Check locking mechanisms, gaskets, and thresholds
Apply silicone or additional sealing if needed around the threshold
8. Optional but Recommended: Warm Threshold System
Installing a warm threshold or thermal break below the sill:
Minimizes cold bridging
Increases floor comfort near the door
Improves overall U-value of the assembly
🧊 Especially recommended in passive or energy-efficient buildings!
Conclusion
Installing external doors the right way isn’t just about meeting building codes — it’s about creating lasting comfort, security, and value. With careful preparation, modern sealing systems, and a bit of patience, your door will do more than just open and close – it will protect, insulate, and impress.
📝 Related articles from Aimwin:
- Energy‑Efficient Windows Installation Guide – covers warm installation methods and insulation layers.
- What Are the Steps to Install Windows? – step‑by‑step guide including tape seals.
- How to Prepare Openings for Window/Doors – details on reveal prep and sealant application.
- 7 Most Common Window Installation Mistakes – common errors in measurements and sealing.
- How to Measure Windows? – proper measuring methods, also applicable to doors.